3D Printing
We were supposed to be working on the machine vision code, but got distracted with 3D printing! Our 3D printer (Flash Forge Creator Pro) has been printing day and night, much to the annoyance of mum!
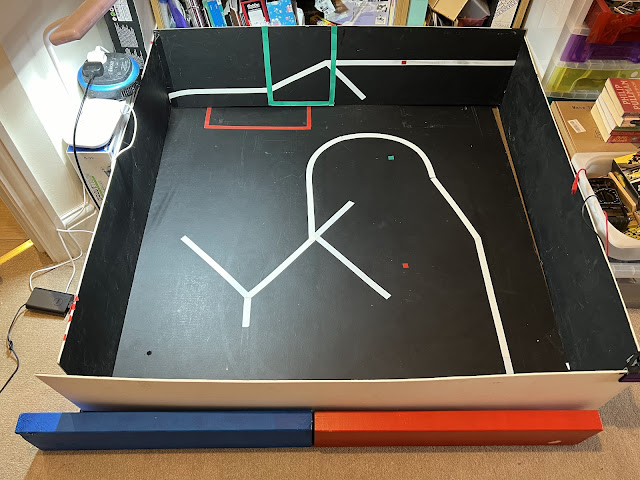
Setting up our ‘Arena’ has been the big spur for all the
activity. The Arena is multi-purpose,
designed as a test ground for Dan-ED. It
comprises a square sheet of plywood painted black with 4x boards making up the
walls. Previously, we used whatever we
could find to prop the walls up.
Needless to say the walls kept falling down!
Danny has been learning to use ‘Blender’ to design all kinds
of items. You can see him working on a
3D model of Dan-ED!
He suddenly came up with the idea to make a ‘bracket’ that
would hold the walls in place. This is
one of his early designs.
Not wanting to be ‘outdone’ by a 10 year old Jerry embarked
on his own designs for a bracket. It
seems trivial but designing a 3D printable bracket that is strong enough is
actually quite hard. Jerry used Spacer
3D for the task.
The early prototypes were simply not strong enough. Through trial and error, and better understanding of the properties of 3D
printed designs (i.e., weakness between layers) Jerry eventually arrived at a much stronger design. There was also a lot of ‘tweaking’
of print settings to get the 3D printer to print well enough. Thankfully, Ben was back from Uni, and could
share some of his wisdom. I don’t think
we had any inkling what an art 3D print settings are!
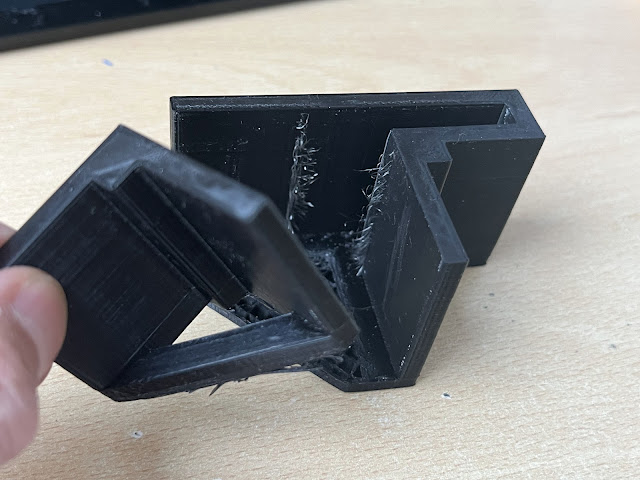
This is one of Jerry’s early attempts at a ‘dog leg’
design. It unfortunately wasn’t strong
enough and broke.
Jerry’s final design is much stronger. Used in pairs, it worked quite well to hold
the walls together.
Here are some of the intermediate before arriving at the
final design. You can see the kids
busily ‘decorating’ using paint pens!
After designing the brackets, attention turned to the ‘Barrels’
for the Eco Disaster challenge.
Ben previously printed some examples using the 3D printers
at his old school. Now we had our own 3D printer, we decided to print our own…
It seemed simple enough, take the STL file provided on the
Pi Wars website. Use Cura to ‘slice’ and create a 3D printable model, then print. Early attempts suffered serious issues with 'delamination' particularly at the first few layers. This was annoying as it typically took 4 hours to print!


Comments
Post a Comment